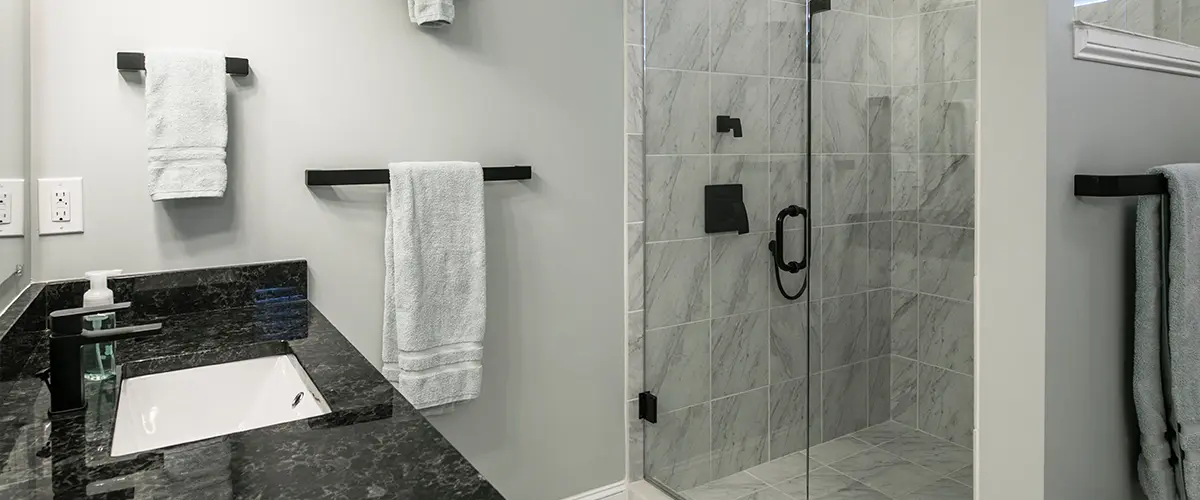
If you’re thinking about getting this upscale upgrade and you’re curious about maintaining tiled showers, this is the place to be!
That, or maybe you just got your new tiled shower installed and you’re curious what should you do to keep in the same pristine condition.
Well, either way, this article is all maintaining tiled showers, so let’s begin!

The Verdict
Most professionals recommend waiting at least 24 hours before you put your new tiled shower to use. Sooner than that and you risk moving or even damaging the tiles.
After 24 hours, you can do a quick check by touching the grout around the tiles. If it is still tacky or leaves a residue on your finger – wait longer!
Of course, timing can vary based on the material used, along with the temperature and humidity in the bathroom. It can be hard to wait – but worth it to keep your beautiful new shower tile protected!
So you love your new shower….and you want to keep loving it! What does that mean for maintenance on your end?
The Upkeep
Moisture, heat, and lack of ventilation are the perfect recipe for mold and mildew.
Your new tiled shower should be an oasis. However, if your tiles are covered with soap scum and mold, that might distract you from your relaxing at-home spa experience.
Here are some simple maintenance techniques to help keep your shower feeling like new.

Daily
Moisture that is left on your tiled shower walls and floor is more than just water. It can contain body oils, dead skin, shower product residue and minerals from hard water. All of this can add up to nasty soap scum on your beautiful new tiles.
Your shower’s new best friend from now on will be… a squeegee.
You know… the thing you use to clean the windshield cleaner off of your car windows at a gas station. Using a squeegee after you shower has many benefits:
- It’s fast – It takes all of 30 seconds to use your squeegee to strip the remaining water off of the tiled walls, but it will help significantly with nasty soap scum on your new tiles.
- It’s easy – Simply choose a top corner to start and pull the squeegee over the tiles in a straight line. This will drag the water to one location and then it will run down to the drain… (Yay! More water down the drain means less moisture trapped on your shower tiles.) Continue dragging the squeegee in this pattern until your shower and shower door is primarily free of water droplets.
- It’s cheap – There are a variety of squeegees that you can buy that will do the trick. Heck, you can even find them at your favorite dollar store. If you are looking for one you can mount in your shower, there are many to choose from under 20 dollars.
- It works – Although some people may use a towel to dry your shower, oftentimes the fabric fibers get left on the shower walls or the towel ends up smearing left over product making things more messy. The towel is then dirty and needs to be washed also… more time and work. The squeegee effectively removes the water build-up without leaving behind any residue and can be used again immediately for the next shower.
- It’s worth it – I mean, think about it… if you are scraping that layer off of your tiles daily, that is less moisture left in your shower that could produce mold or mildew. It will help your tiles and grout stay looking like new and allow you to spend less time on deep cleaning the shower due to less build up. Basically, you get a lot of bang for your buck by removing the extra moisture from your shower after each use.

Other Quick Ways
Other daily tips to help keep your shower clean and fresh longer include:
- Keep your bathroom fan on after you shower for 20 minutes
- Open a window if you don’t have a fan to help decrease the humidity
- Leave the shower door and bathroom door open for a bit after you shower.
- Don’t hang wet towels on the shower door - this can trap excess humidity inside the shower.
Step-By-Step Guide To Deep Cleaning A Tiled Shower
Although a squeegee is a miracle worker, you will still need to do a deep clean of your tiled shower weekly (a lofty goal, yes, but when you love your shower – you want to keep loving it!).
Also, the more often you deep clean, the less time it will take because there will be less build-up between cleanings.
The steps below provide a general lay-out for cleaning your shower.
#1. Choose a Cleaner
Choose a Cleaner – A simple Google search will prove to overwhelm you with choices of cleaner. There are many quality solutions you can buy at the store along with an abundance of DIY at-home recipes using household items such as vinegar or baking soda.
It is important to match a shower cleaner to your specific type of tile in your shower (porcelain, glass, natural stone, etc).
Depending on your tile material, certain cleaners could damage your tile if they are too acidic. Do your research before you start spraying!
In general, porcelain and glass are the most forgiving while natural stone is more sensitive to acidic cleaners.
#2. Pre-treat
Turn your shower on high heat and let it run with the door closed for 5-10 minutes. This helps open up the pores in your shower material and loosen stubborn dirt.
#4. Spray
Prior to spraying, make sure the tiles are still wet or moist from the pre-treatment. You could also throw a few buckets of water on the hard to reach tiles to ensure they are wet. Spray your cleaner over each shower tile and let stand for 5-10 minutes. This will allow the cleaning product to work its magic by breaking down dirt and grime in your shower.
#5. Scrub
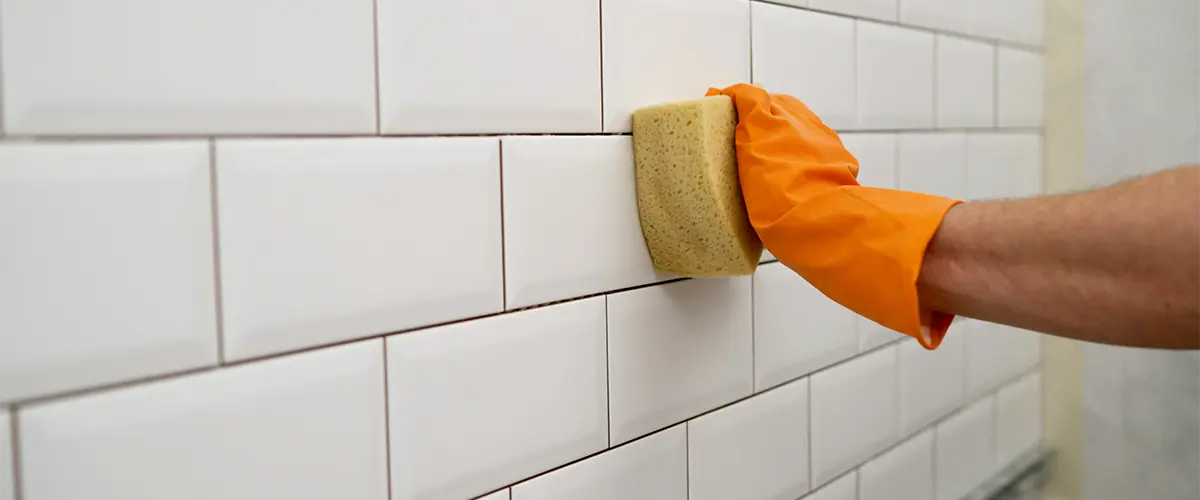
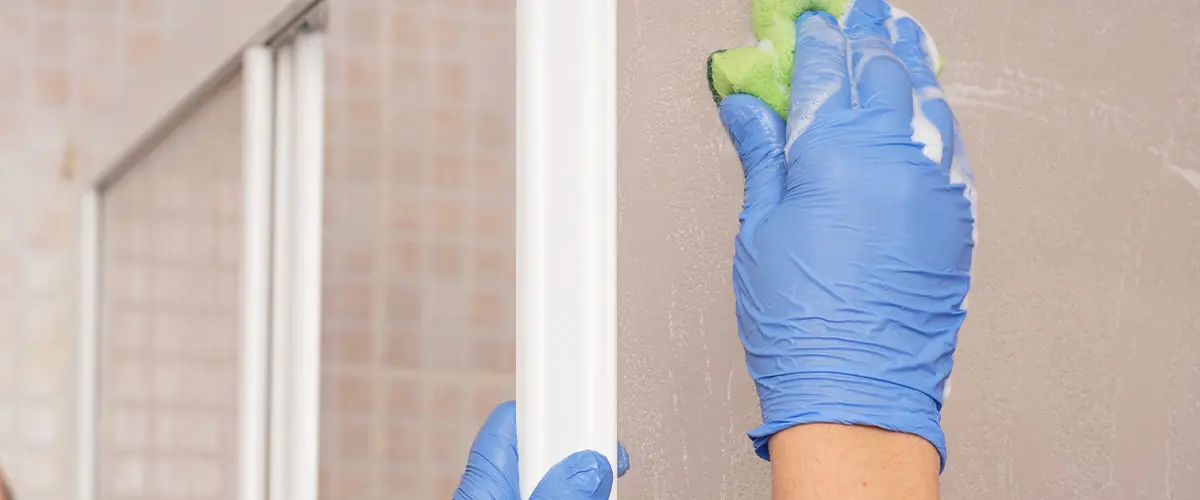
Choose a sponge that is non-abrasive so it will not scratch your beautiful new tile. Scrub the tiles, especially the areas that have soap scum, mold or mildew. Start from the top and work your way down towards the floor.
- If your grout is in need of a deep clean, a small brush (even an old toothbrush) can be used to attack the spaces between the tiles.
- If you have mobility issues, a deck brush could be used to scrub your tiled floor so you don’t have to get on your hands and knees.
#6. Rinse
Rinse off the cleaner with either the shower head or a bucket of water. This step is important because you don’t want to leave the cleaner to dry on the tiles – adding to further residue build-up.
#7. Dry
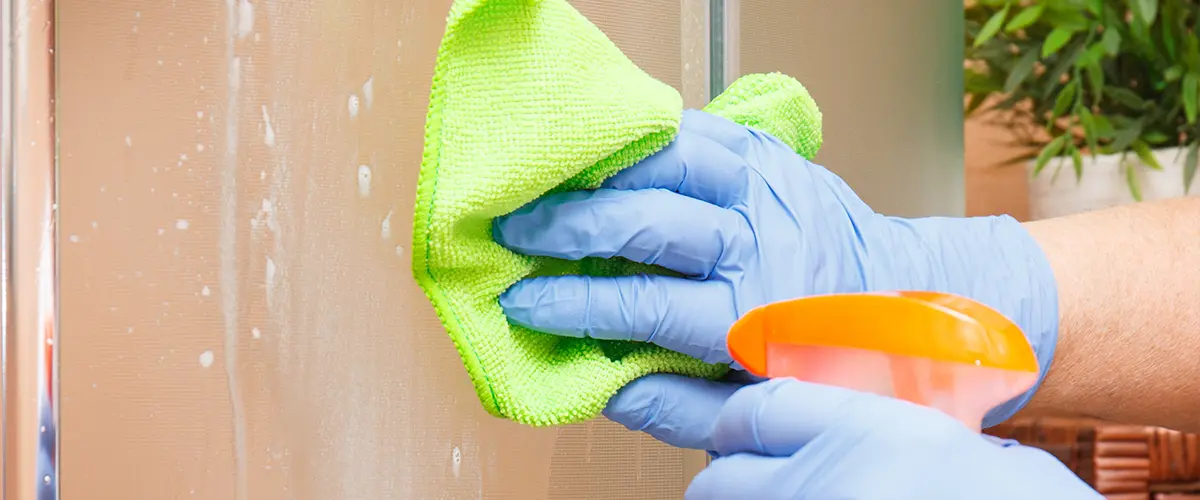
Use your squeegee or a microfiber towel to dry the tiles just as you would do after a shower to avoid any water build-up.

Continued Maintenance
Many people ask us about resealing shower tiles periodically, so let’s dive a little deeper into that.
The answer to this question varies depending on the material of the tile, the amount of shower traffic and your water type (hard vs. soft). For example, if the shower tiles are all porcelain, they don’t need to be sealed or resealed at all. If your shower tiles are made from natural stone, you can usually expect to reseal your tiles every 1-3 years.
Regrouting your tiles shouldn’t be an issue, unless you start to notice flaking or tiles breaking off. If that is the case, you should take action sooner than later to prevent any water damage.
There really is no “exact” timeline when it comes to tiled shower maintenance. Just be sure to keep an eye on the products to make sure there’s no distinct changes over time.
Conclusion
Cleaning your tiled shower shouldn’t be a hassle, and if you’re doing it properly, it takes around a minute after every shower to ensure you’re doing your best to keep it clean.
Even if you skip its maintenance for a few days, a deep clean will bring back its shine in no time.
If you don’t yet have a tiled shower but you’re looking to build one for your new bathroom, we’ve got you covered! At Remodeling Journey, we’re building some of the most beautiful tiled showers homeowners in Wausau, WI, have ever seen!
Get in touch with us by phone at (715) 551-7328 or request your free quote now, and let’s talk about your new shower!
